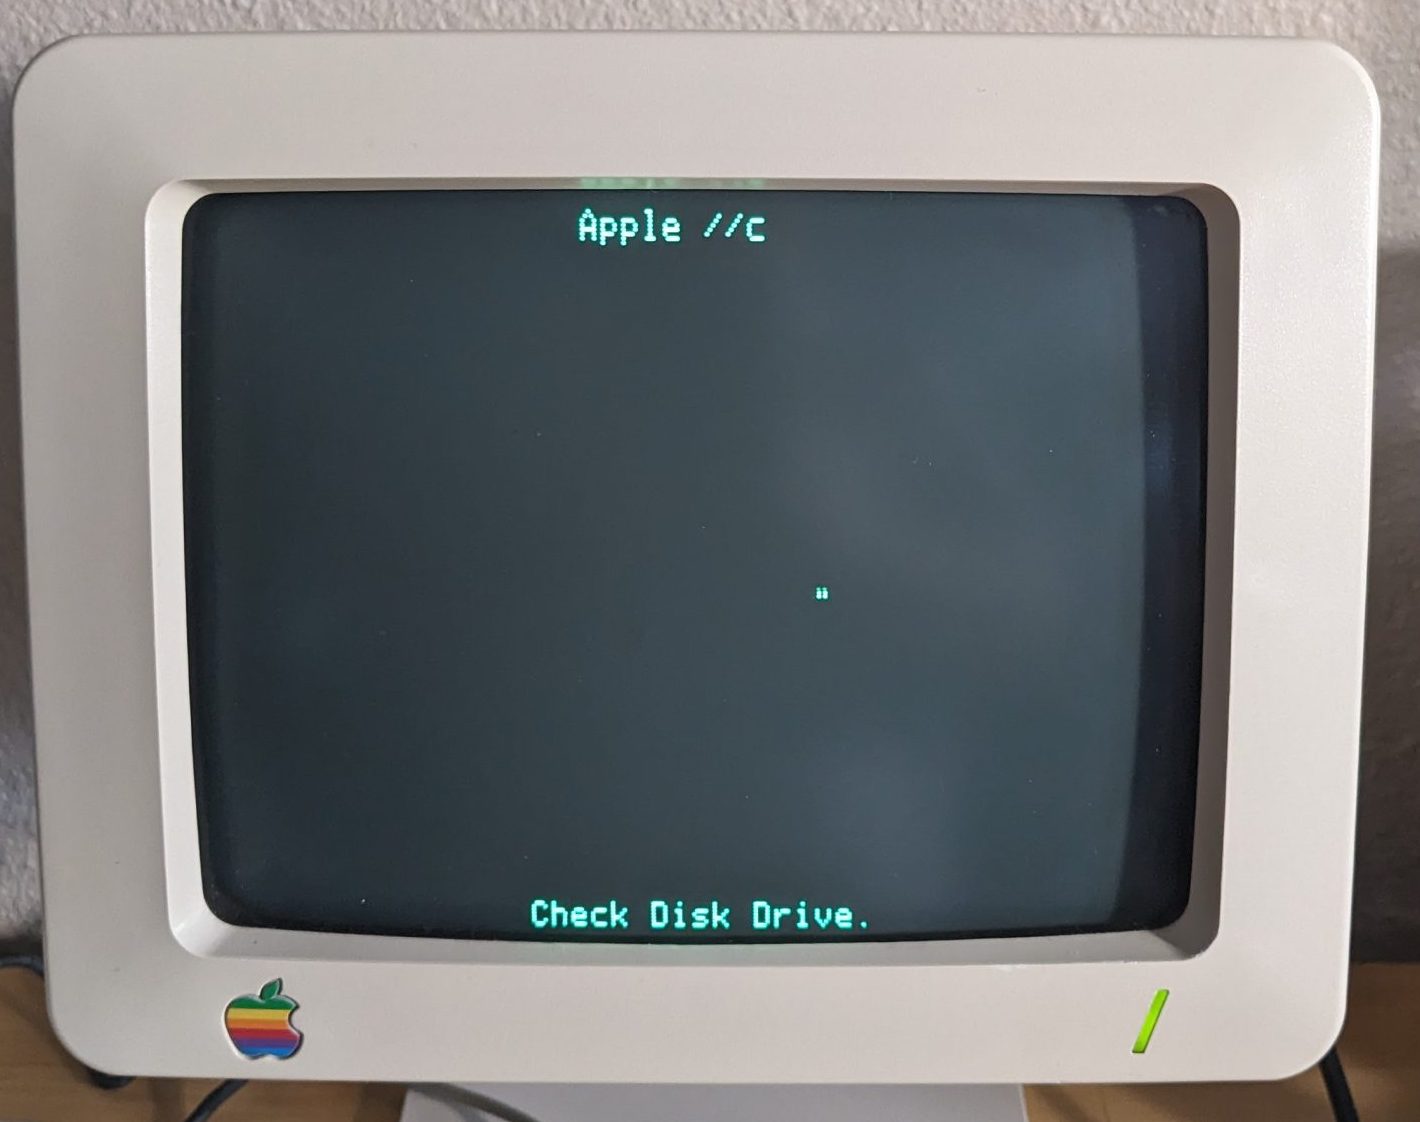
Today we troubleshoot a newly purchase A2S4000 and quickly diagnose a bad RAM chip issue. And we learn why you should just always start your day with a self-RAM test.
Welcome to the latest fixer upper post. Today we have an Apple IIC A2S4000 with no accessories and no external power supply. It was purchased from your typical estate sale picker – the kind of seller who always has a store full of a spread of random vintage stuff from the olden days.
When unpacking the computer, we noticed a weird flopping sound coming from inside the case (not normal for an Apple IIC as everything is well-secured internally). So, NOTE #1, whenever you purchase a vintage computer, OPEN IT UP BEFORE YOU POWER IT ON! Taking a quick look inside can be the different between fire and smoke and happiness. In our scenario, the two screws for the internal PSU were missing for some odd reason, with everything else intact. The PSU was starting to fall out of its slot.
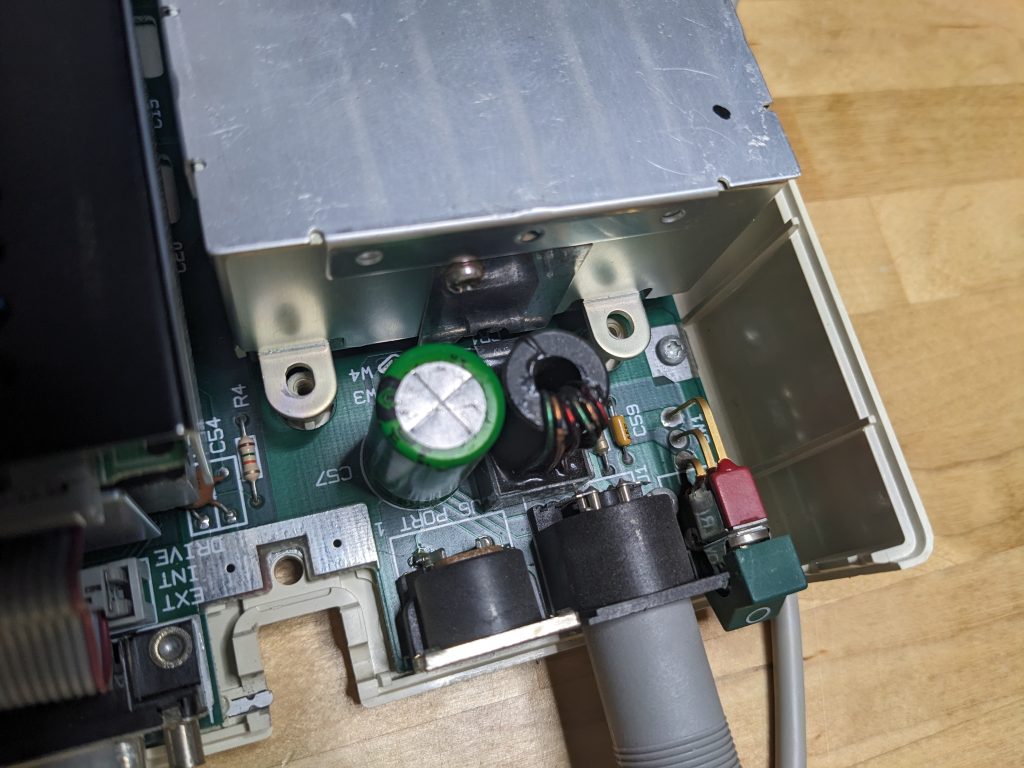
We reseated the PSU, powered up with no disk, and fortunately we did get a boot screen! Albeit with a weird little dot. Strange characters on the Apple IIC boot screen are never good.

And when dropping to the prompt, the weird little dot lingers:
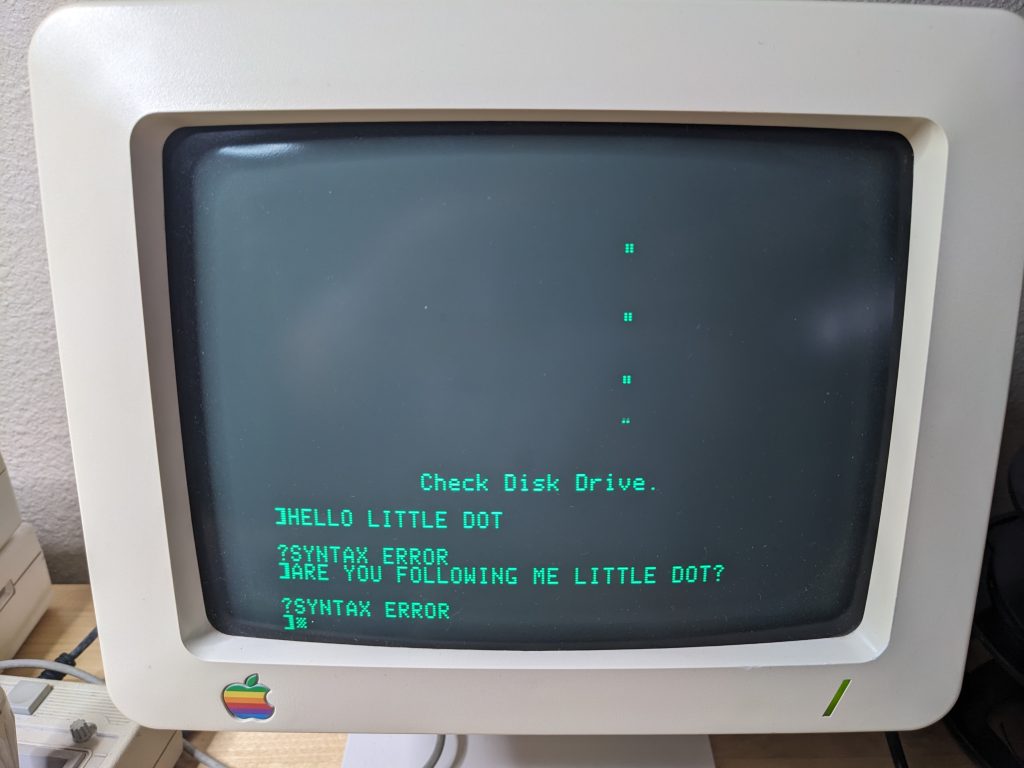
Next we insert our 5.25″ copy of ADTPro and try to boot up, but no go. The floppy drive clanks and bangs for awhile but we soon end up with an Error 40:
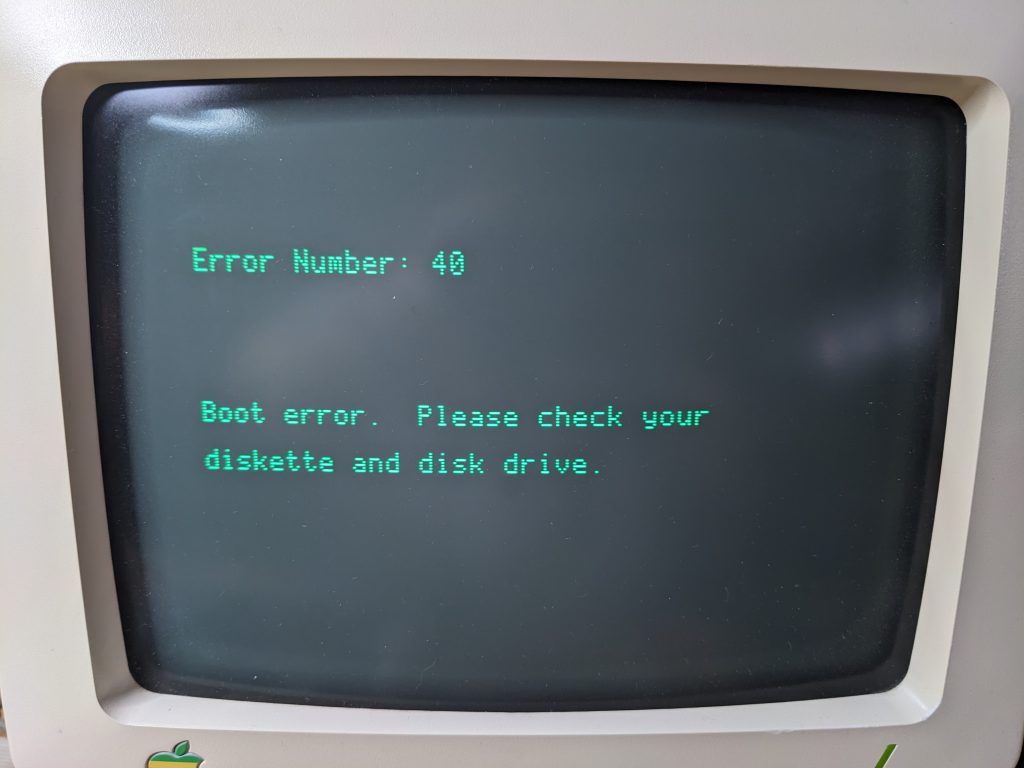
No worries, sometimes these internal floppy drives just get dirty or out of calibration and so they can’t read disks made byother Apple IIC’s. So, we connect a USB-to-serial cable from our Windows 11 computer to the modem port on this Apple IIC, fire up ADTPro on our Windows PC, and attempt to bootstrap the Apple IIC. No-go… instead of making it to the ADTPro home screen, we end up stuck at an asterisk * prompt. The asterisk prompt is always bad.
At this point it seems like our CPU is working, and our ROM is probably o.k., but we may be having some sort of RAM failure. ADTPro should bootstrap unless a ROM, RAM, or serial port issue occurs. RAM issues are very common, so we’ll start there. Time to check the ROM version to see if our computer can do a self-RAM test. “PRINT PEEK (64447)” returns “0”. We have a Rom 0.

Ok, we have a ROM 0 which means this computer should be ablet to perform a quick RAM self-test. Let’s do it! Hold Closed-apple, then Open-apple, then CTRL, and then finally RESET. Keep holding until you see the snowy blizzard screen (this is the Apple IIC starting its self RAM test).
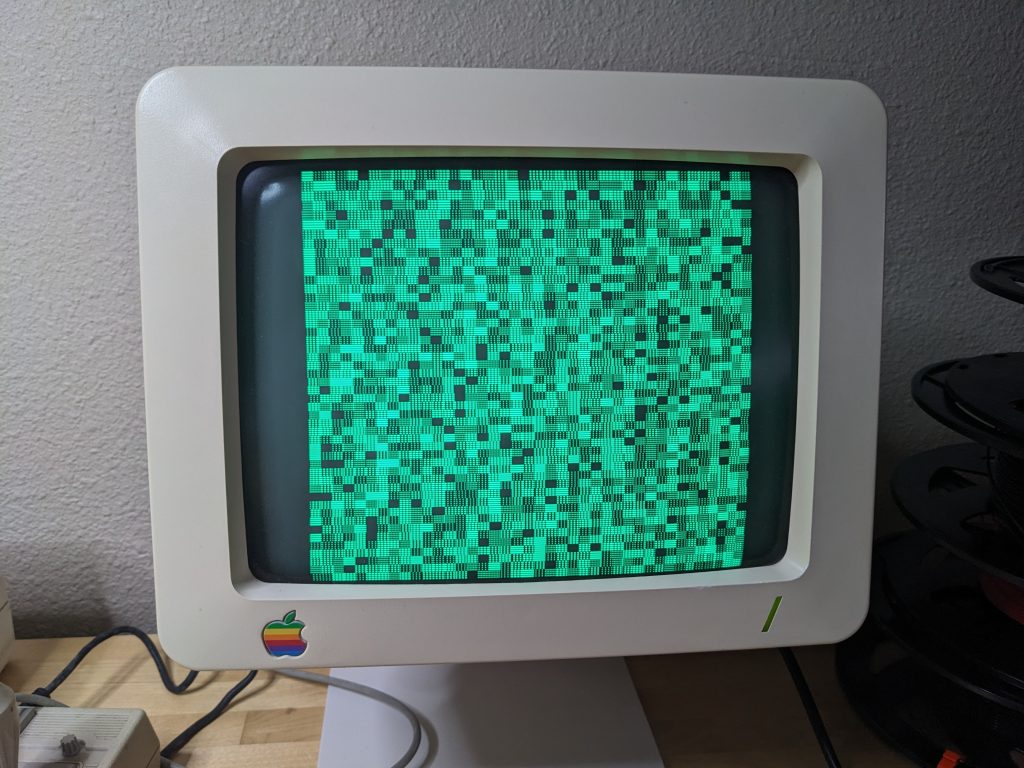
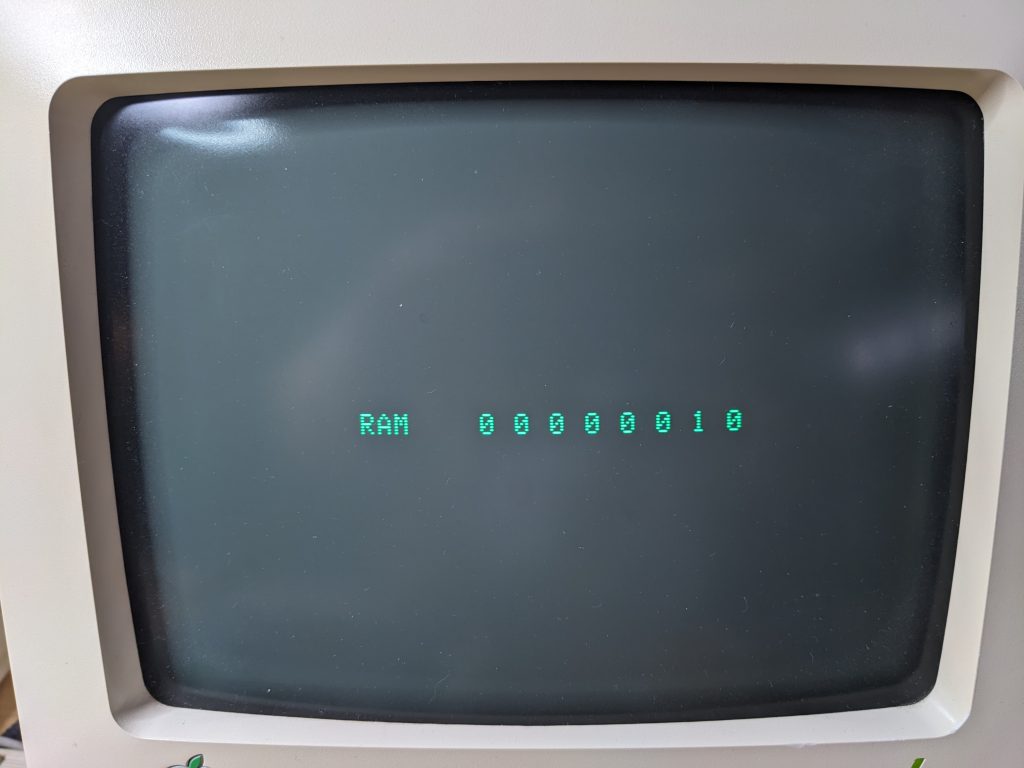
We have the results. “1” is a fail. One of our main RAM chips is failed. Specifically MRD1. (If there was an asterisk in front of the work “RAM” then it would be giving codes for the eight ARDx chips instead). The fail codes read out for chips 7, 6, 5, 4, 3, 2, 1, 0 from left-to-right. Go to this wonderful website apple2faq for more information on interpreting RAM test results: https://www.apple2faq.com/apple2faq/identifying-fixing-defective-ram-apple-iic-rom-255/
Now, it’s not uncommon that once you get one RAM chip working, other ones next to it can/will then report failed as well. First thing we check is continuity from the tops of the pins on the MRD1 to the CPU and to other MRDx chips. They all share the same address lines, two of the pins on each MRDx chip are select/enable lines coming from the CPU. On this particular board all the traces and connections appear to be good from MRD1 to the CPU and to the other MRDx chips, and this MRD1 chip hasn’t been resoldered by anyone else before, so we’re most likely dealing with a straight up failed RAM chip. They are pretty commonly known to fail. You either need a donor board (which we happen to have) to borrow a new RAM chip from, or you need to purchase extra RAM chips somewhere on-line. They aren’t manufactured any longer.
So, our task is now to replace the MRD1 RAM chip with a good one. 8416 MT4264. Fortunately, UPS just delivered our new desoldering gun this afternoon. With regards to a desoldering gun, I recommend Hakko if money is no object. The old cheap “iron with hand bulb” from Radio Shack will work just fine and costs $15. (Oh yea, Radio Shack went bankrupt. Check Amazon). I went middle-of-the-road and ordered the Chinese Pro’s Kit SS-331 Electric Desoldering Gun from AliExpress for about $120 USD including shipping.
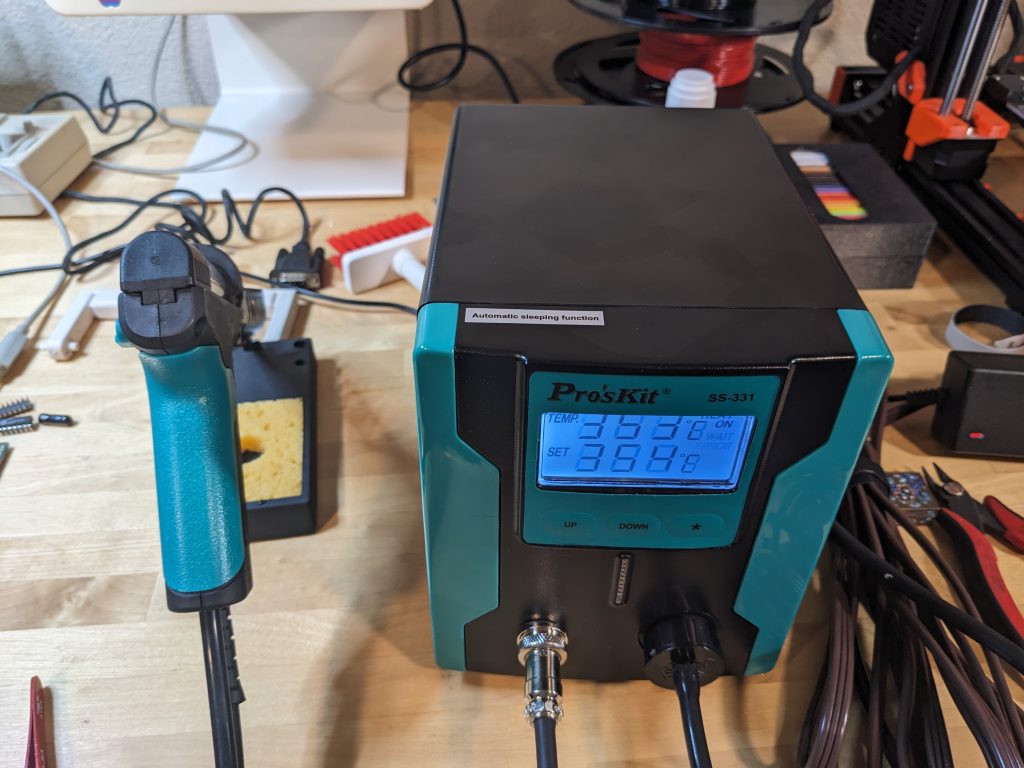
First we rob some known good RAM chip off a donor motherboard that I happen to have. Tip: use the desoldering gun like you normally would, but add a tiny bit of fresh solder to the joint to it before you suck. The old Apple IIC boards are pretty dry (read: not any flux left to help the solder flow). Or you could use flux if you have some.
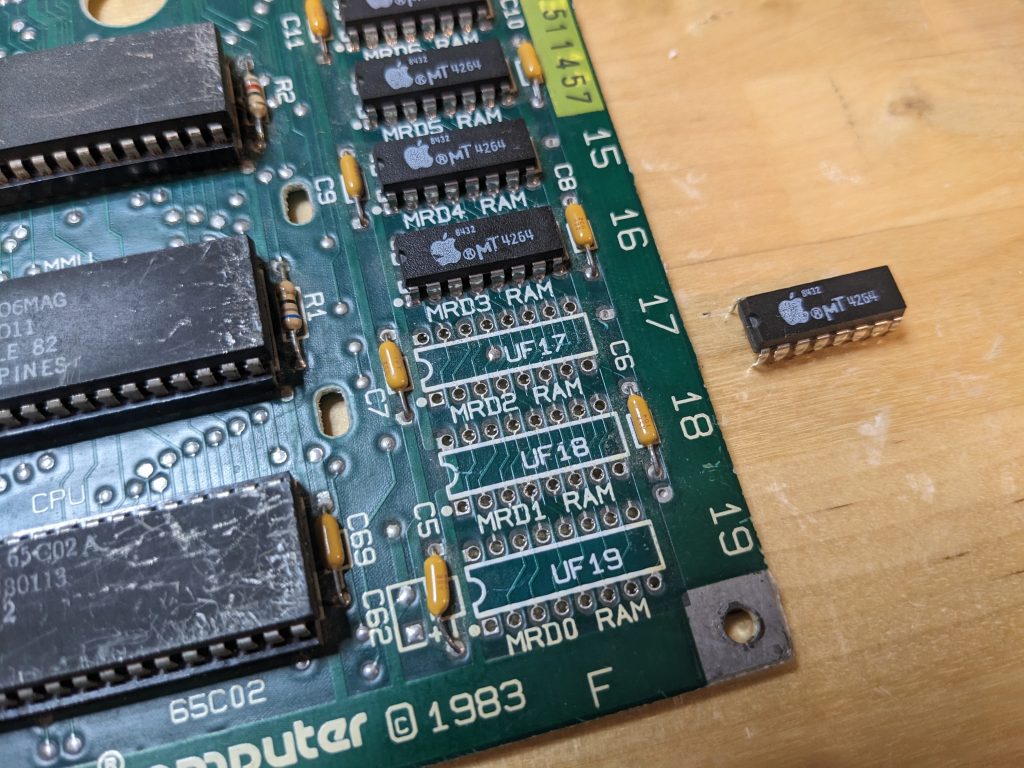
Then we remove the bad RAM chip off the motherboard we’re trying to repair.
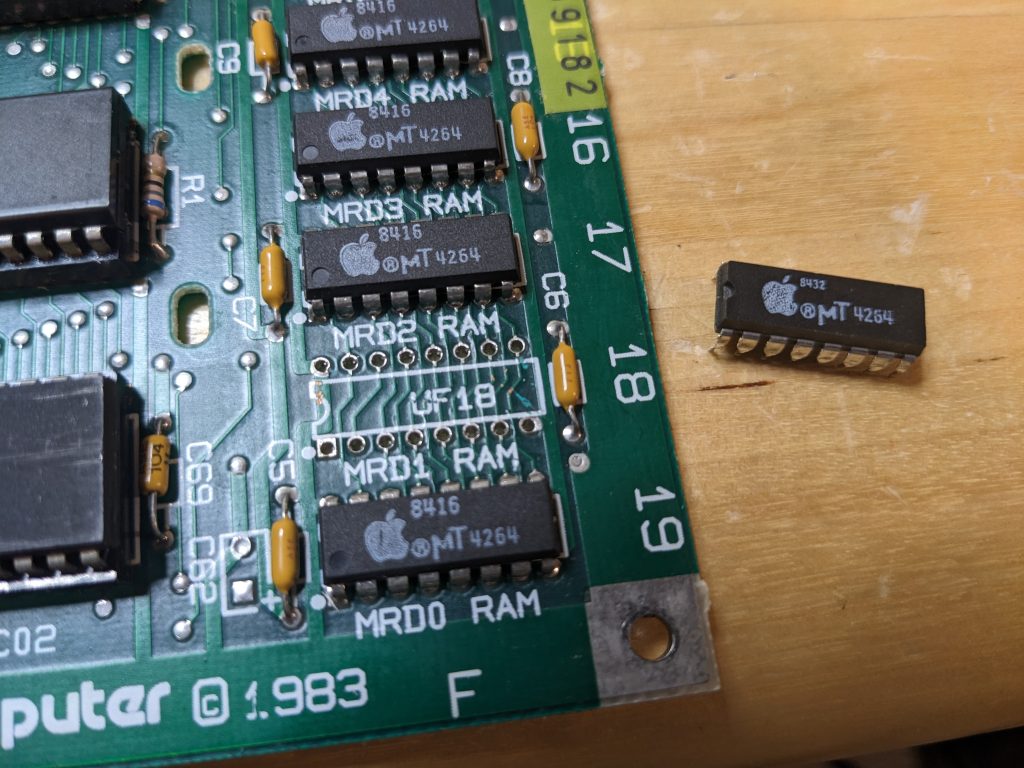
And lastly, install the good RAM chip.
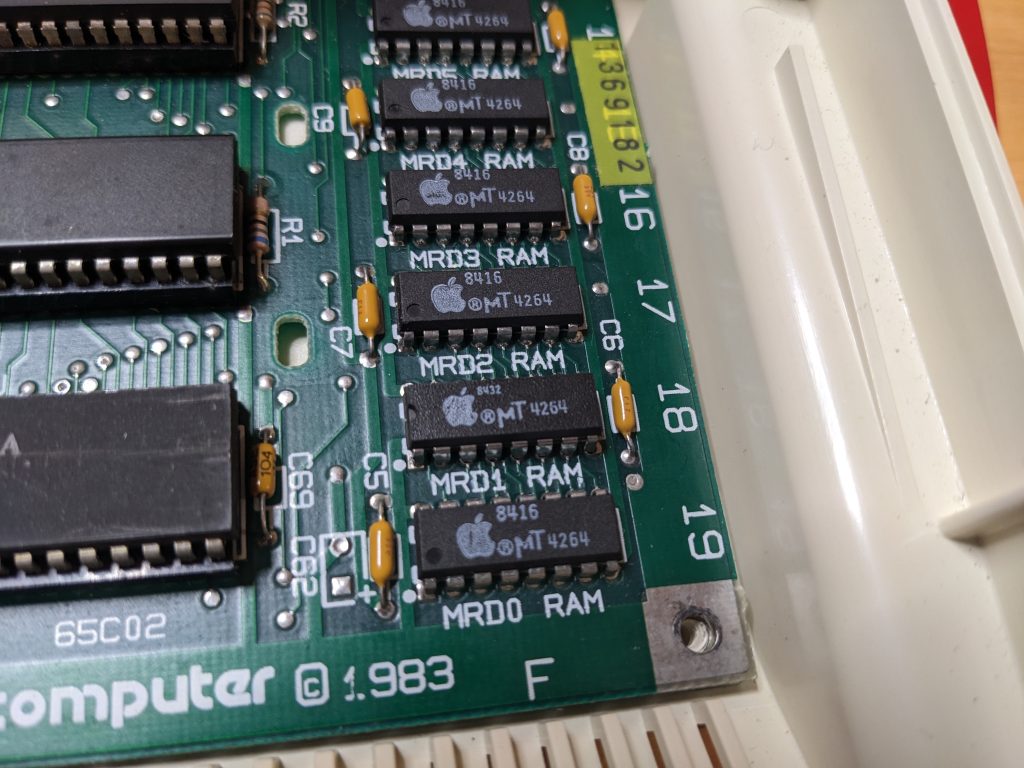
Time to do the Self-RAM test. Hold Closed-apple, then Open-apple, then CTRL, and then finally RESET. Results: System OK!
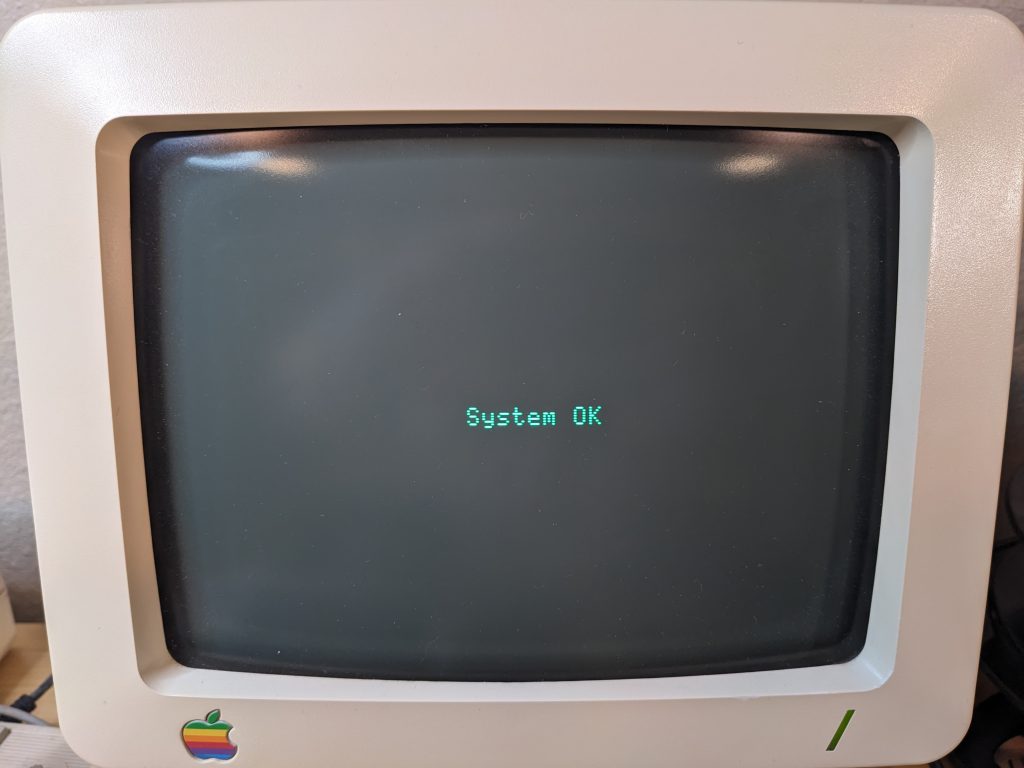
In addition to passing the RAM test, this computer is now booting up disks. Turns out it couldn’t boot disk because of the bad RAM. Everything else on this computer is working good, just a single bad RAM chip was all that had failed after 40 years. We’ve successfully saved another Apple IIC from the clutches of the e-Waste recycling yard!
